
Overview of your menus
In your BookingSync website, you can use 2 type of menus, a header (called main menu) and a footer menu.
The header/main menu is located on the top right of your page.

The footer menu is located on the right part of the footer.

Create your menu
Please navigate to your Website Builder app > Navigation. Where you can see the following view:
- click on
New menu.
- Name your menu:
mainfor the header menu,footerfor the footer menu or any other name for a sub-menu.
Click onCreate Menu. Note that this name can be changed at any time.
- Fill in the menu items one by one:
- The link name (mandatory). It's the name that will appear in the menu. If you have a multi-language website, don't forget to add a name for every language.
- What it links to (mandatory). You can choose the link amongst the following options:
- Homepage: links to the homepage of your website, can be useful for mobile navigation.
- Page: links to one of the pages created in the Page section.
- Rental: links to one of your rentals page.
- Category: links to one of the categories created in the Categories section.
- Destination: links to one of the destinations listed in the Destinations section. For a better user experience, make sure to add a photo and content for this destination.
- Search page: links to the rental search page.
- URL: links to any URL. It can be useful to include a direct link to an external blog or a link to the owner access page (if you use our Owner app).
- NoLink: links to nothing. You can use this option if you have a sub-menu.
- Contact: links to the contact page.
- The linked sub-menu, if any.
- Then, click on
Update menu

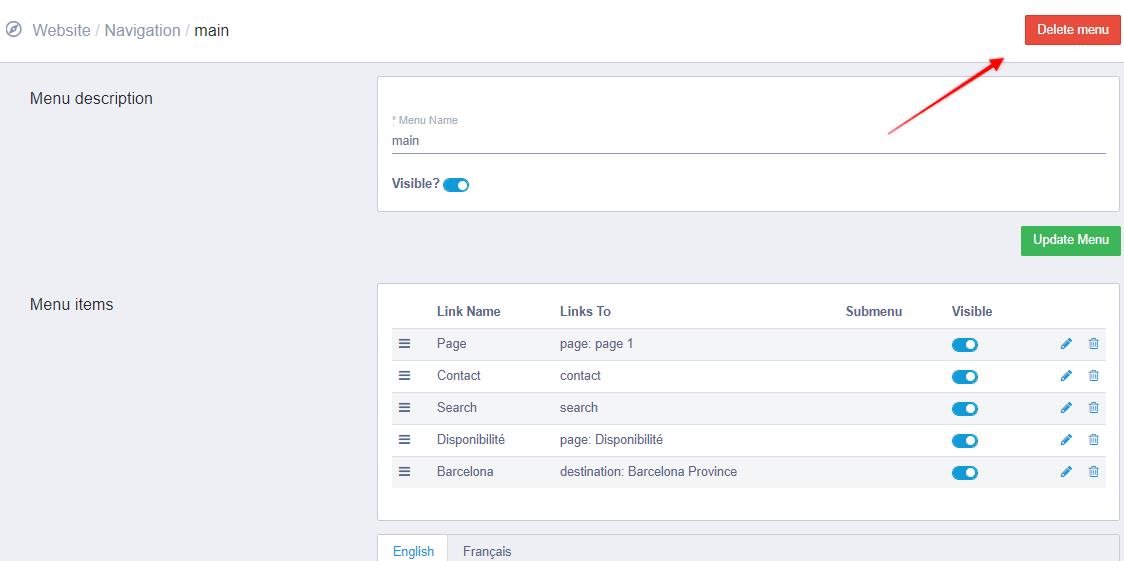
Change a menu
You can change a menu by clicking on Edit menu.

On the edit page, you can
- Add a new item, following the same steps as above
- Modify an existing item by clicking on the pencil or delete the item by clicking on the bin

- Manually sort items by clicking on the hamburger icon (the 3 lines)
Please do not forget to click on the Update menu to validate the changes.
Delete a menu
To delete menu please click on Edit menu > Delete menu
Submenus
On your BookingSync website, you can create submenus in your main menu.
- Create a menu with a specific name.
- Add the items and links you want in your menu (see steps above)
- Then click on
Update Menu - To edit the main menu, add a new item (or edit an existing item) and in the option submenu, choose the menu you created.
- Don't forget to click on
Update Menu
Create and edit URL Redirects
It is very important for your client and the search engine to avoid broken link on your website.
If you change something on your website, for example the link to your rental (during the creation of your BookingSync website), or if you replace a static page with a category, don't forget to create a redirect to avoid a broken link.
If you migrate your website on a BookingSync website (with a URL redirect), you must use these redirections to match the URL of the old page to the URL of the new page.
- Click on
URL Redirects
- Click on
New redirect - Enter The old path (mandatory): URL of the old website or old page
- Enter The path it redirects to (mandatory): URL of the new page

- Click on
Create Redirect
Comments
0 comments
Please sign in to leave a comment.